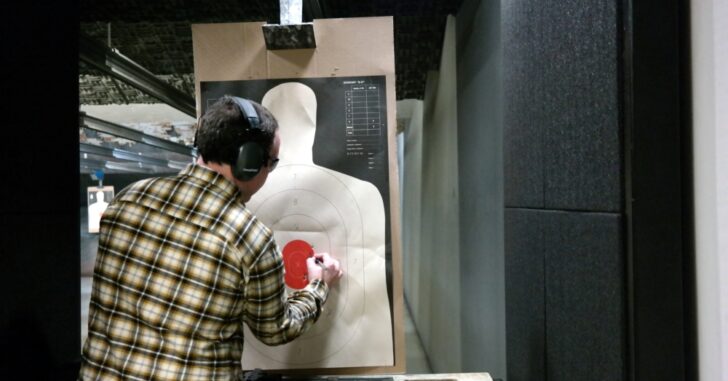
Accuracy is essential for concealed carriers. Whereas a hobbyist may shoot simply for leisure and pleasure, a concealed carrier has to be able to accurately put rounds on target in a hostile environment.
Shot accuracy isn’t born into the concealed carrier – it’s learned. And it starts with a few fundamental practices that help the shooter improve.
Use Shot Groupings to Identify Shooting Flaws Early
Just like Shakira said, “hips don’t lie.”
And neither do shot groupings. It’s surprising the amount of insight you can get from just looking at how your bullets hit paper. And with very few exceptions or circumstances, it’s not the gun or the ammo – it’s the shooter.
When doing shot groupings, it’s best to start small and work up. For concealed carriers, the first three shots matter more than any of the remaining ones. If the target isn’t hit within the first three rounds, something has gone terribly wrong and needs to be addressed in training.
| Shot Group | # Shots | Diagnose |
|---|---|---|
| Group 1 | 3 shots | Sight alignment, sight picture, trigger control |
| Group 2 | 6 shots | Breathing, trigger control |
| Group 3 | 9-12 shots | Breathing, trigger control, support |
Step 1 – Determine a Shot Group
What goes wrong at 25 ft will be exponentially true at 50 ft, 100 ft, etc. When starting off with a new pistol (or just using an old favorite), start at 25 ft. There’s no written rule for why this distance is ideal as much as it’s just a good middle ground. You can start at 15 ft if you feel more comfortable.
Once the target is placed at 25 ft, fire three shots. If those three shots are not center mass in the bullseye, it’s important to find out why.
Reason #1: Sight Picture Vs. Sight Alignment
If the shots are relatively tight but off from the center, check your sight alignment.
If the shots make a perfect triangle but are wider than two inches apart, this may be attributable to sight picture, breathing, or even posture.
Sight picture is the ability to see through the sights of your pistol to the target. The alignment of the center sight between the left and right posts is sight alignment.
Reason #2: Trigger Control
Ideally, when a trigger is pulled, it will be in a straight backward motion. Any jiggle to the left or right will influence the trajectory of the bullet. A shot grouping of three may reflect poor trigger control if the shots are sporadic and all over the place.
…If target is missed at 25 ft
Bring the target back to 15 ft. In order to diagnose a problem, you first have to see it on paper. There shouldn’t be any embarrassment if this happens. What you’re doing is responsibly addressing your shooting abilities and, in doing so, enabling yourself for the future.
If that doesn’t help, support your elbows on a table and try one more shot group of three rounds.
Step 2 – Determine a Breathing Cycle Pattern
Once a shot group has been determined in a three round grouping, take steps to bring that group as close to the bullseye as possible. Once you can reliably put your shots on target, push up to Shot Group 2 – 6 rounds of continuous fire. This will help you see the effects of your breathing. You can hold your breath (or empty your lungs) for three rounds but by the time you fire 6 or more rounds, you’re going to see the effects of your breathing. Don’t fight your breathing – learn to work within it.
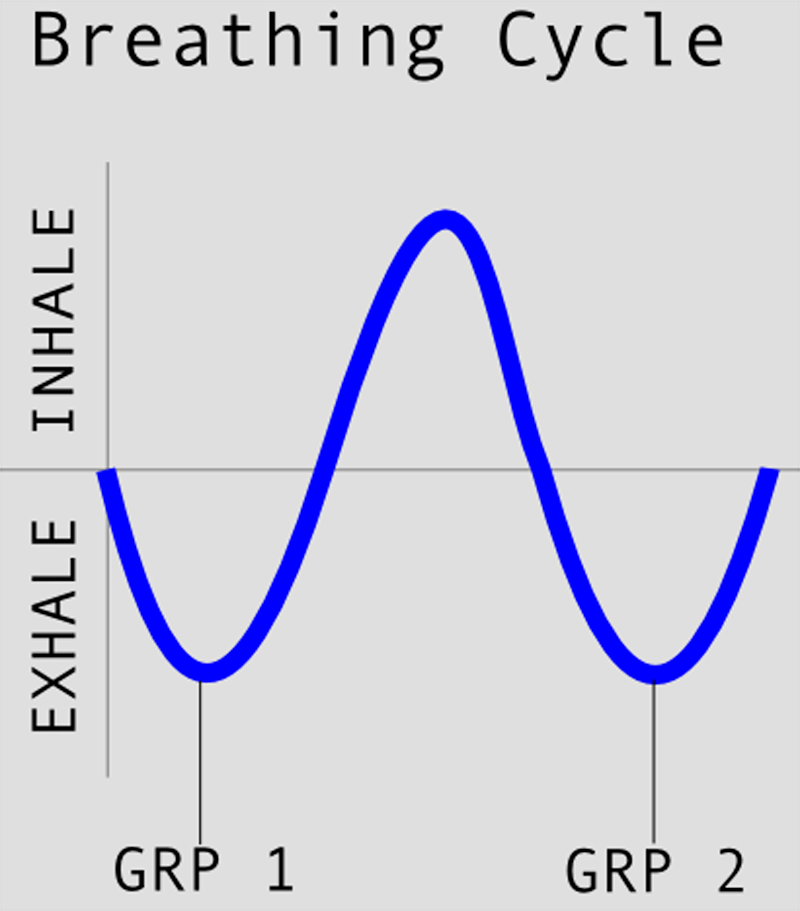
Preferred: Exhale. At natural rest, take three shots. Inhale. Exhale. At natural rest, take three more shots.
Alternate: Inhale, take three shots. Exhale, take three shots. There will be a natural correction to the shot grouping that occurs when you do this. If you practice it and understand how it affects your shot groupings, you can compensate accordingly.
Not as Helpful: Shooting groups through the course of exhaling or inhaling.
Step 3 – Posture & Fire from a Supported Position
Part A: The Importance of Adopting the Right Standing Posture
The Weaver stance is an old keepsake from a bygone era of shooting. It’s taking your dominant leg and sliding it back a foot’s length from the non-dominant. Your body is at a cant and your profile – as a target – is slightly reduced. It was thought that this position handles recoil better and is easier to align.
Since then, most competition shooters have used a front-side align stance. Feet shoulder width apart and aligned center to the body, body facing target, the pistol is drawn and brought up to alignment with the eye. Professional competition shooter Jerry Miculek pointed out the merits of this stance in a recent video – seen below:
The end goal should be a more natural, fluid draw and alignment to target. Additionally, the less you have to move your head to align the sight picture, the faster you will align a good shot.
Part B: Importance of Good Support
Everyone’s body oscillates and shakes. The cardiopulmonary system pumps blood rhythmically to all the extremities and the faster it does so, the faster the body’s extremities will shake. The key isn’t to fight this but to use it to your benefit.
When possible, use bone support.
Your elbows and joints don’t shake as much as your muscle tissue. Propping an elbow against a table or platform will greatly reduce the amount of shake your body passes on to the pistol. This will refine and sharpen your shot groupings.
If you have an issue getting a shot group at 25 ft, try using a supporting position – such as propping your elbows onto a table.
More importantly, in a defensive situation, you should NEVER stand and exchange bullets with an opponent. Your main priority is to:
- minimize your target profile (aka “the area exposed to your enemy”)
- maximize your target’s profile (aka “the area your enemy exposes to you”)
In an open environment with ZERO cover (i.e. an open field), your best bet is to go to the prone position. Not only is this a great supporting position to fire long range shots, your target profile is greatly reduced.
While it is important to practice proper posture for firing at the range, it is just as important to learn how to take cover and concealment. We’ll discuss those elements in a future article.